Installing the Task Scheduler
-
Locate
Task Scheduler script
content_sync.batwithin the distributionbin. - Open the Windows Task Scheduler from within the Administrative Tools.
- Click on the Task Schedule Library folder in the left pane.
- From the Action menu, select New Folder. A dialog prompting for name is displayed. Enter a name of a folder that will contain all of the sync tasks. For example, the folder name may be Titania. Click the OK button to accept. The new folder appears in the left-pane.
- Click on the new folder and select Create Task from the Action menu. A Create Task dialog appears.
-
Follow the instructions on each tab:
-
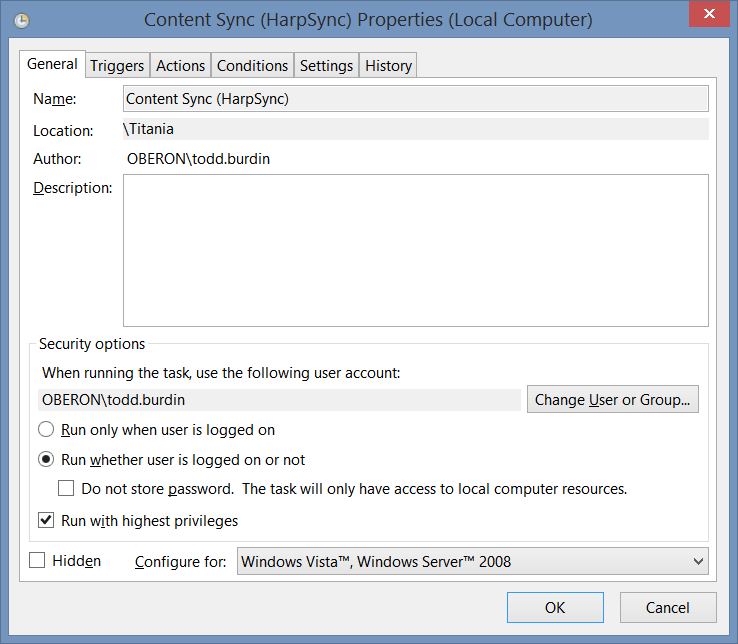
General tab: Give the task a name.
Select the option to Run whether user is logged on or not.
-
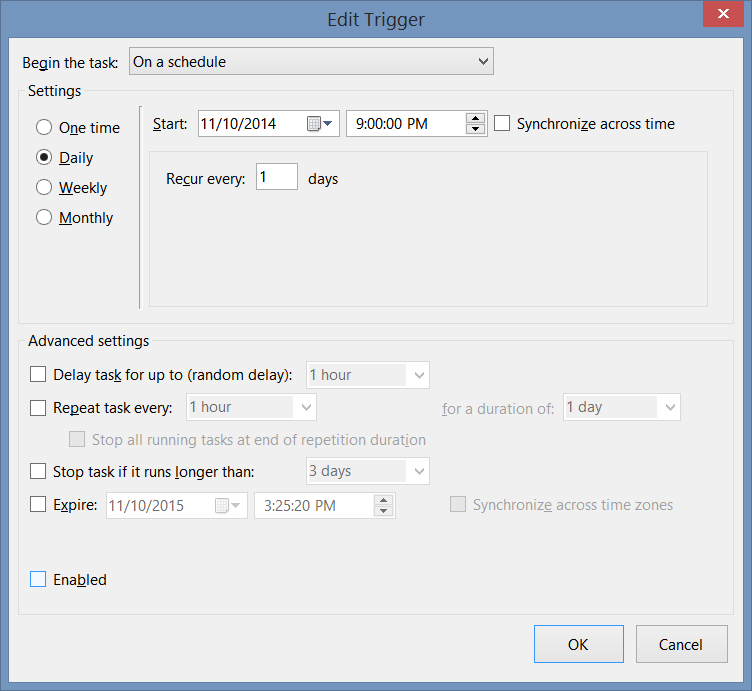
Triggers tab: Create a new trigger
to run the sync at a specific interval.
-
Actions tab: Provide the name of
the sync task to run.
The Program/script should be
<distfolder>\bin\content_sync.bat. Replace<distfolder>with the actual location of the distribution folder.The Add arguments prompt should be<taskname>. Replace<taskname>with the sync task name that is defined in thesync-task.xmlfile.The Start in prompt should be<distfolder>\bin. Replace<distfolder>with the actual location of the distribution folder.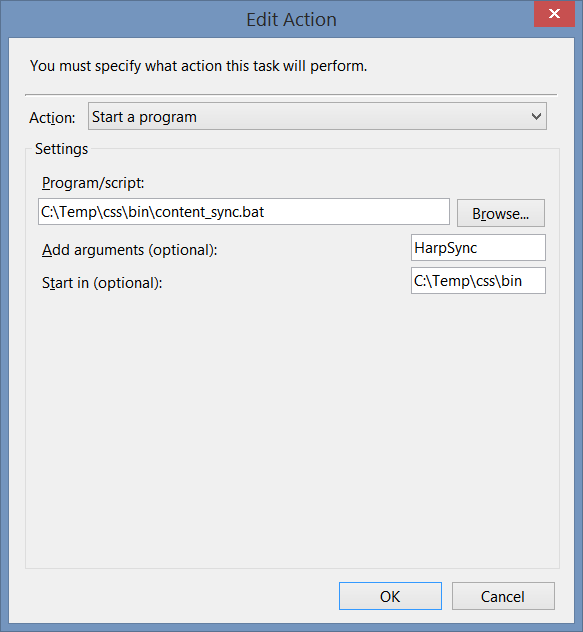
-
General tab: Give the task a name.
Select the option to Run whether user is logged on or not.
- Click the OK button to create the new Task