Filtering Content with Metadata
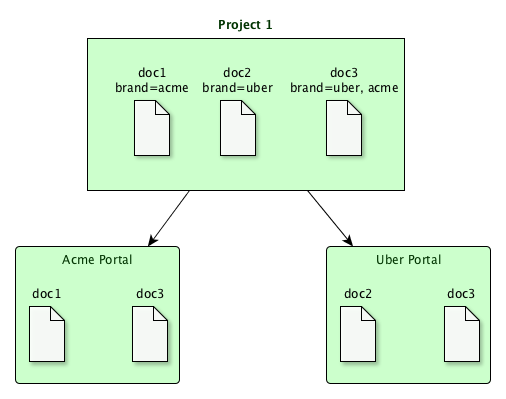
Imagine a system managing the documentation for two brands: Acme and Uber. All of
the
documentation is stored in a single project, with some content marked brand=acme
, some
as brand=uber
, and yet others that apply across brands as brand={acme, uber}
.
However, each brand can have its own Portal, each pointing to the same single project,
but
restricting what's available using metadata filtering. Such an arrangement might look
like
this:
Controlling the Available Publications with Content Filtering
When you associate a project with a portal, by default all of the files in that project become available through that Portal. However, you can filter the content for the portal by assigning metadata filters. If you were to upload a project and put it on the portal, it would appear like the following:
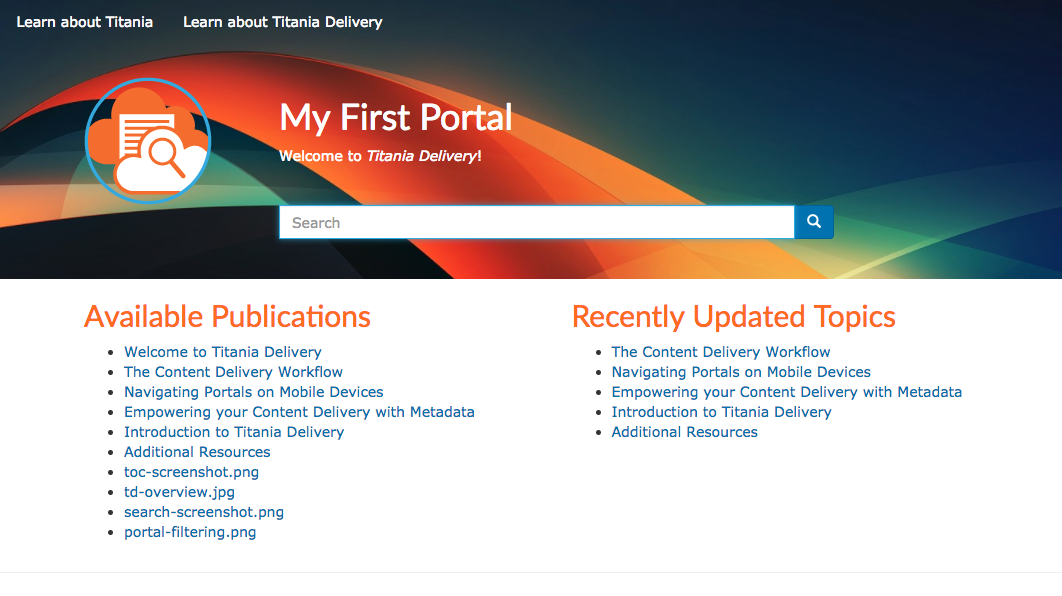
Notice that the Available Publications list includes every file in the portal, regardless of its format, including graphics as well as DITA maps and topics. In addition, the topics will be displayed as self-contained documents in their own right, not as parts of the DITA Map(s) that reference them. This is almost certainly not what you want. In general, DITA maps should be treated as top-level publications, and most topics should be made available as they appear underneath a DITA map, not as publications in their own right. Fortunately, this can be accomplished by applying metadata to a map and then filtering the portal so that only the map and the contextualized topics beneath it appear in the portal.
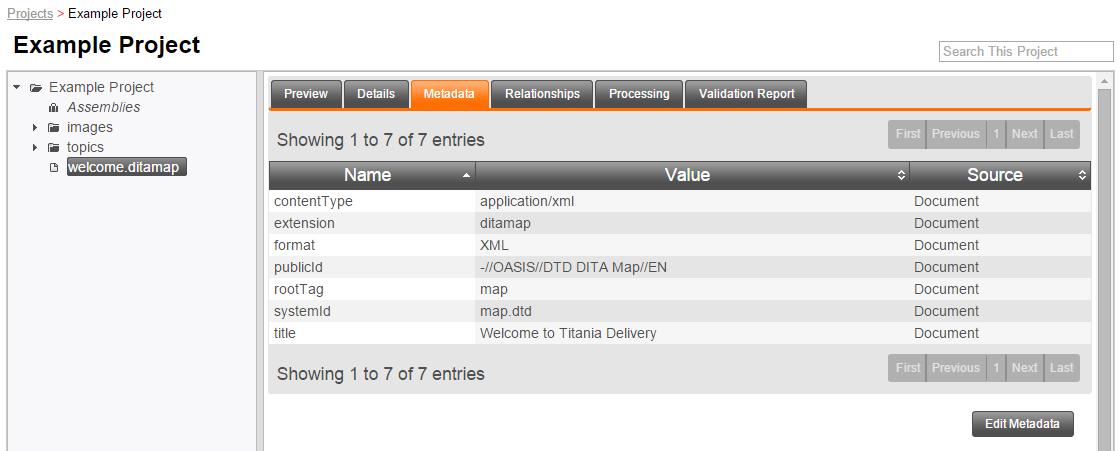
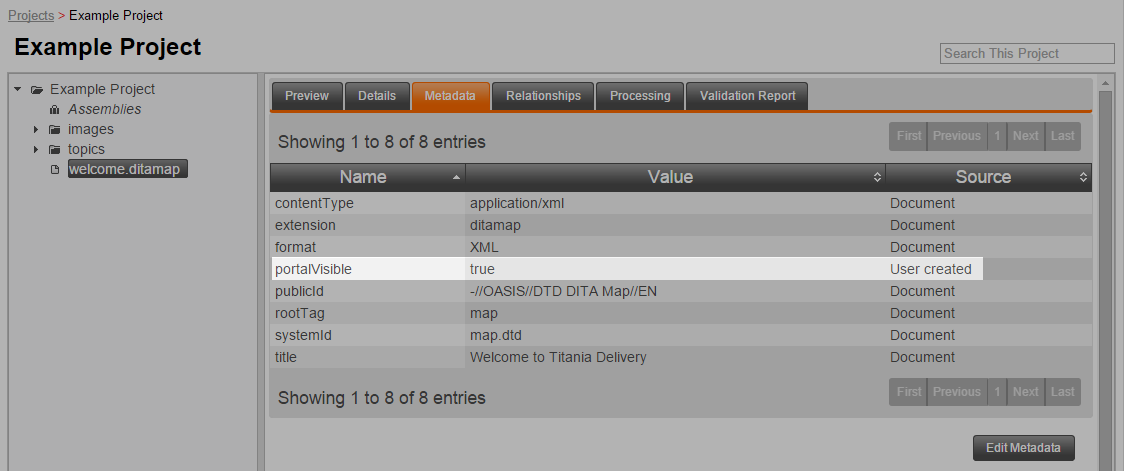
- First, go to the Metadata tab on the DITA map.
- You will be prompted with the following window:
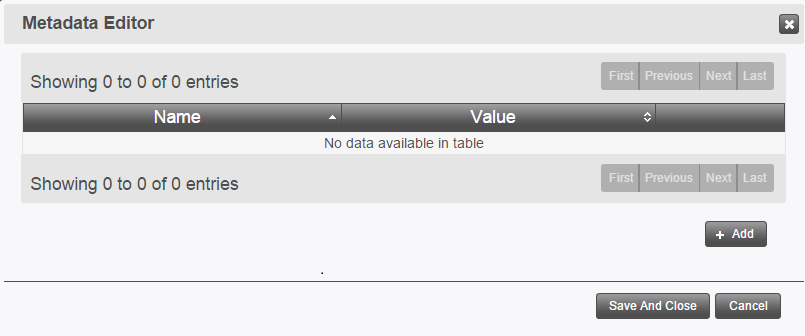
Click +Add, and the following box will appear:
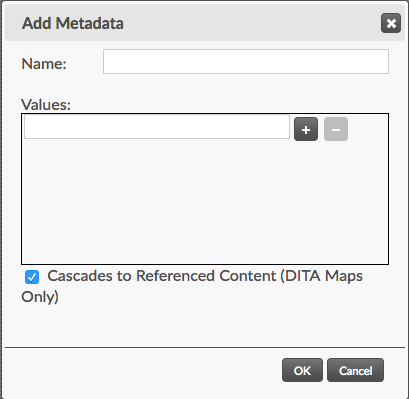
- For this example, we are going to use the metadata
portalVisible. In the Name field, type: portalVisible, and in the Values field, type: true.Note: Metadata will be case sensitive when using it as a content filter, so be sure to use appropriate capitalization. - Ensure that the checkbox labeled Cascades to Referenced Content (DITA Maps Only). This will ensure that the metadata applies to the contextualized copies of the topics that are generated when the DITA map is processed. For more information about DITA processing behavior, see How Content Processing Works.
- Click OK.
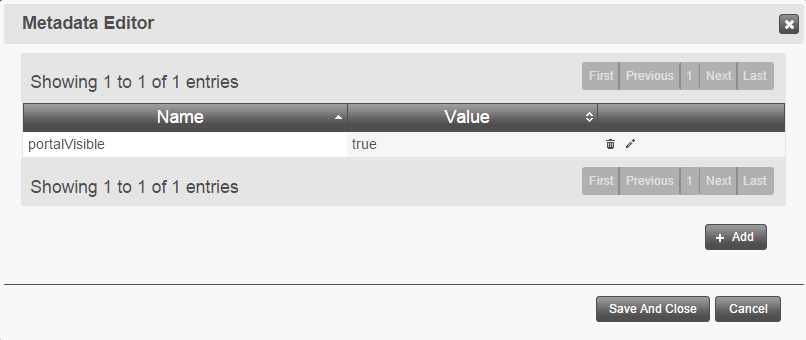
- Now click Save and Close. It should now appear in the list of
metadata.
- Now, to apply it to the Portal, go back into the Portal’s settings, and go to the
Content Filter tab.

- Click Add and the Add Filter dialog will
appear:

In the Name field type: portalVisible, and set the value to true. Click OK to dismiss the dialog.

When you refresh your portal, it will now only show the documents on which you added
the portalVisible metadata.

This is better. Only the top-level DITA map is included in the Available Publications list, and the graphics and topics are only displayed as components under that publication.